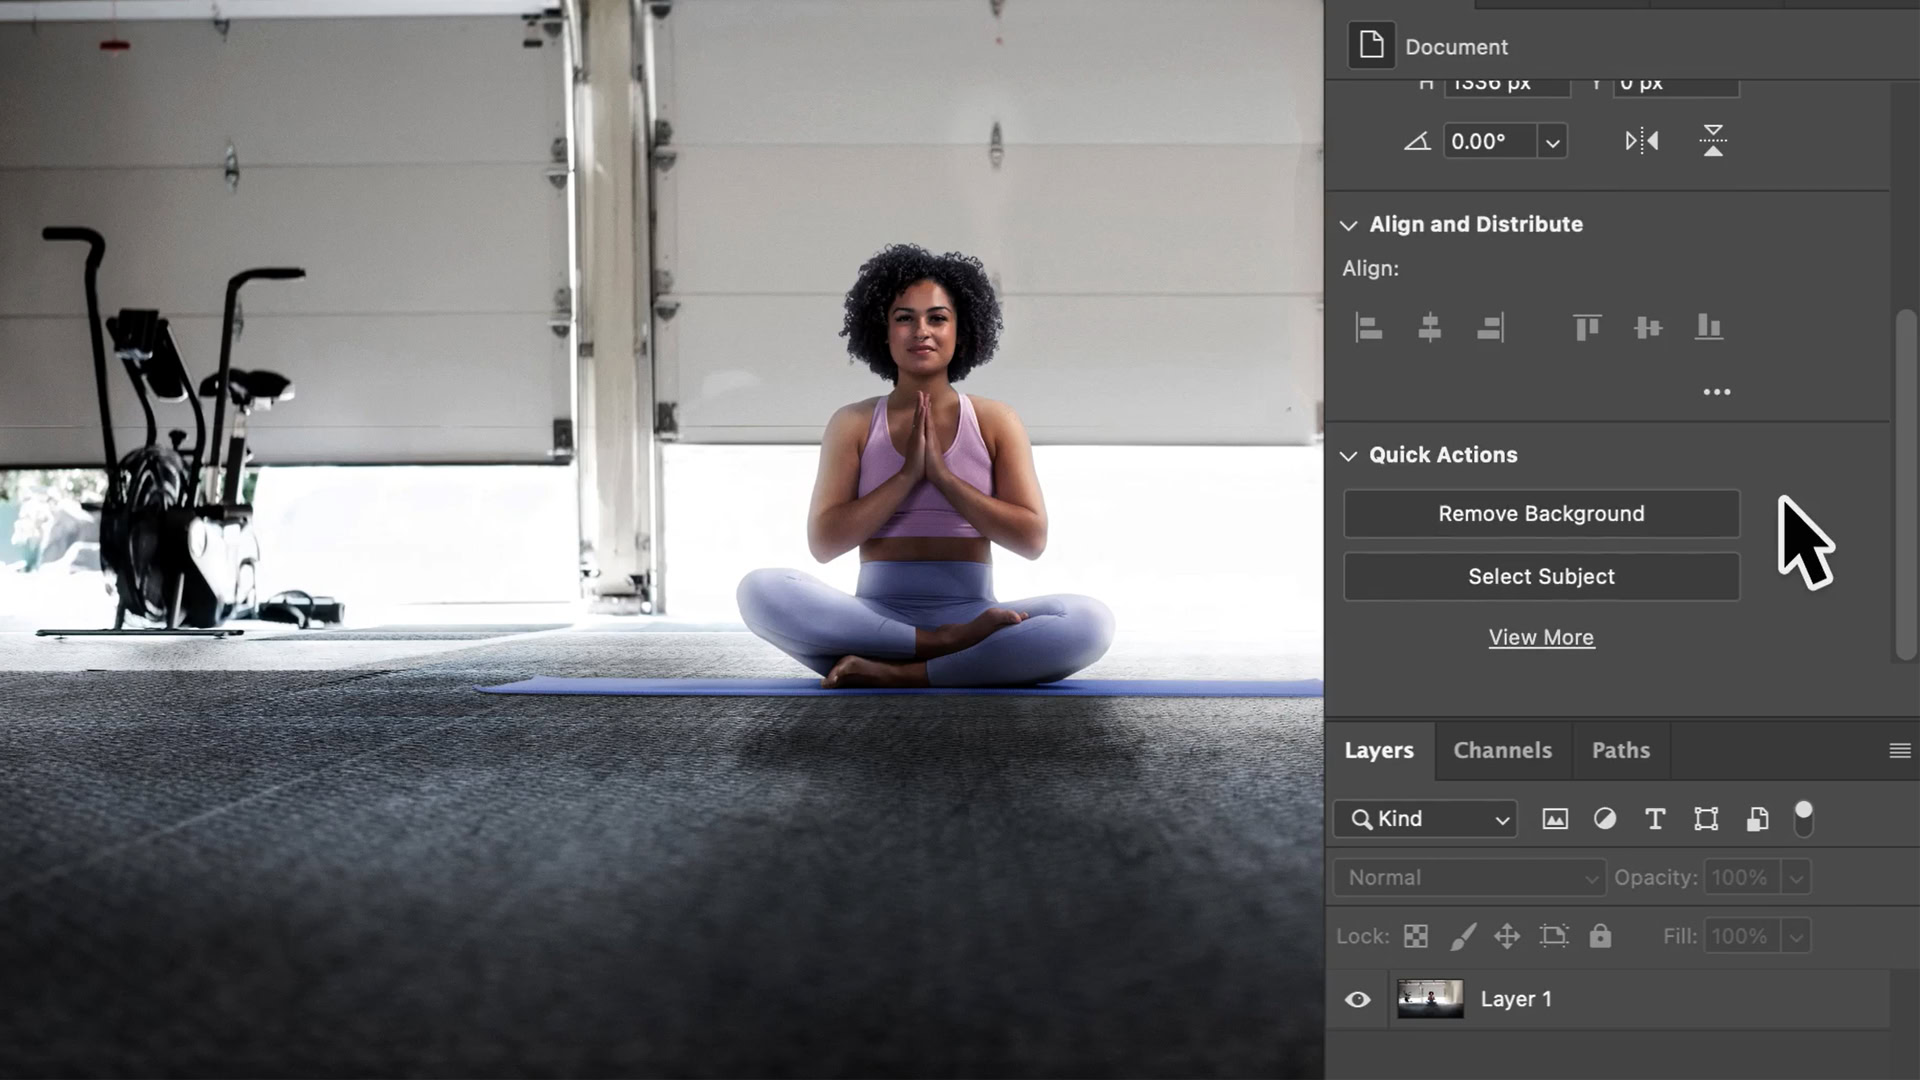
Unless you’re a photographer — and even then sometimes — one of the most fundamental Photoshop skills is the ability to remove an object from its background. There are a few ways to do this, a couple of quick ones we’ll explore in this guide. In both cases we’re assuming you’re using the latest version of Photoshop, available via Adobe’s Creative Cloud plans.
How to remove the background from a picture in Photoshop
Using Quick Actions

This is the easiest method, but assumes you have a conspicuous subject that Photoshop’s AI will have no problem identifying, such as a human in front of static scenery. Follow these steps:
- Open your image, select it in the Layers panel, and unlock the layer.
- Select the Properties panel, then click Remove Background under Quick Actions.
- Use the Brush tool to clean up any background elements that Photoshop missed. Specifically, you’ll want to use the black brush to remove unwanted pixels, and the white brush to make things show.
- If you want to immediately place your subject on another background, drag and drop the second image on to your canvas and hit the Enter key. Next, in the Layers panel, drag the second image below the original. You may want to use the Refine Edge Brush tool to improve blending around the subject.
- You might instead try adding a transparent background, which will make it easy to paste your subject into many other projects.
- When you’re done, save the image to your file format of choice. You should probably save a PSD file as well, since it may otherwise be tough to fix mistakes.
Using the Object Selection tool
- Open your image, and choose the Object Selection tool from the toolbar. It’s in the same menu as the Quick Selection tool.
- Move your mouse cursor over your subject, and wait for it to turn blue. Try again if the subject doesn’t change color.
- Use Shift-click to select all the objects you want to keep in the image.
- In Photoshop’s top menu bar, click Select > Inverse.
- Unlock your image layer in the Layers panel.
- Select the Eraser tool and begin erasing the background.
- If necessary, edit the resulting mask created by the Object Selection tool.
- The final image should have a transparent background, so you can add different backdrops.
- Once you’re done, save the image to your file format of choice. You should probably save a PSD file as well, since it may otherwise be tough to fix mistakes.
Read more: How to get Photoshop on a Chromebook
